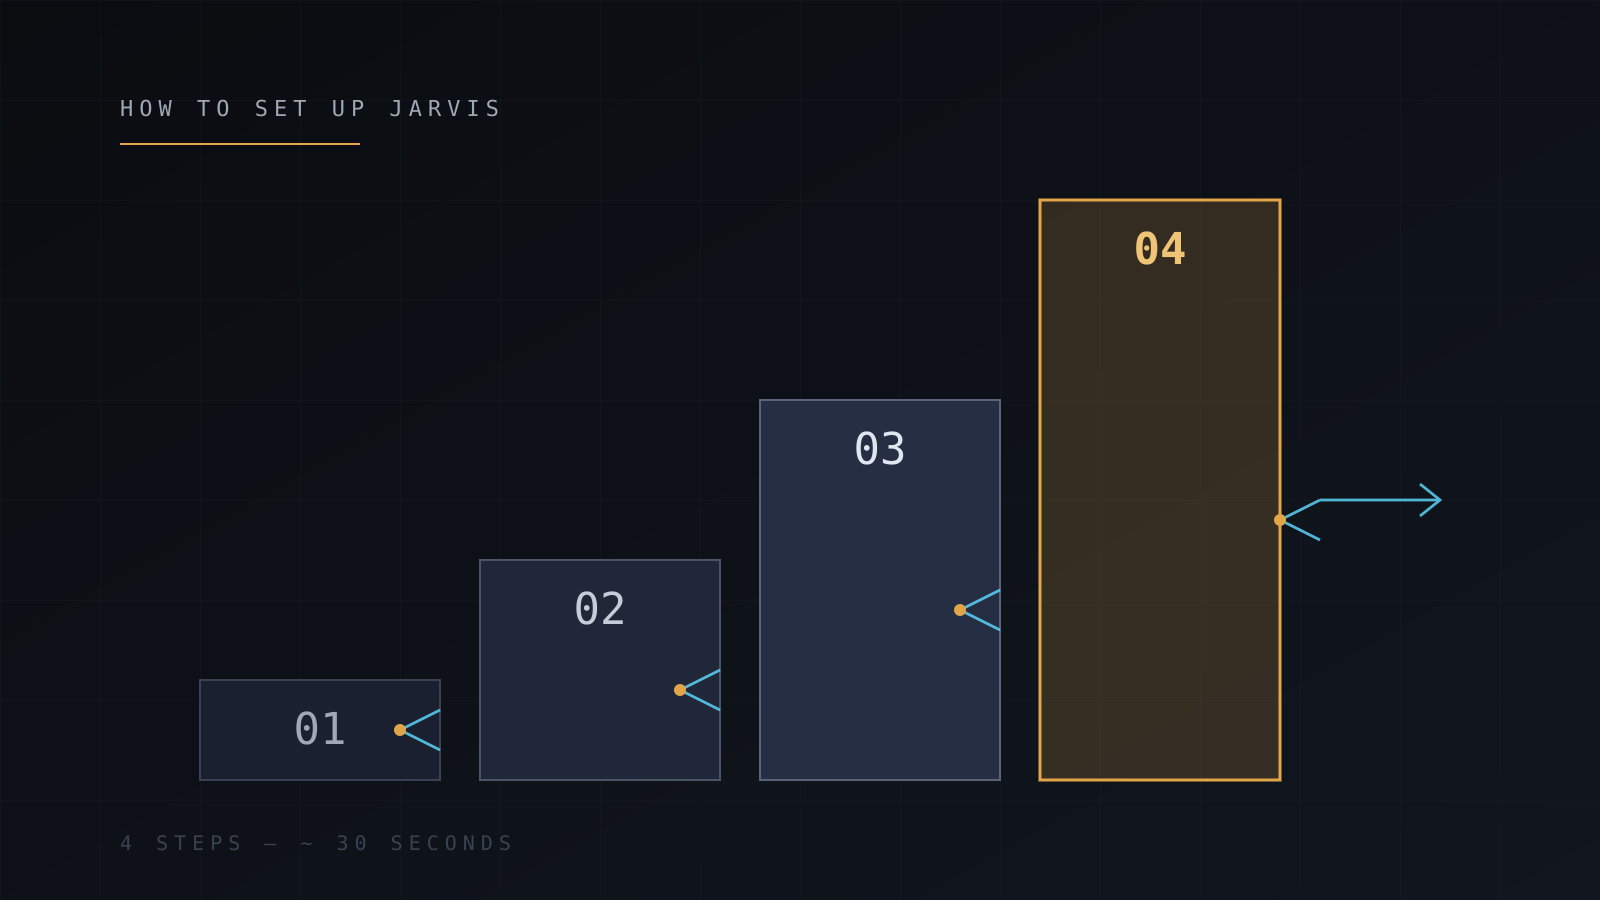
How to set up Jarvis on your Discord server in 30 seconds
Install Jarvis - the free Discord AI bot - in three steps. Invite, restrict to a channel, optionally set a custom wake word.
Setup is short. There's no signup, no dashboard, no API key to copy. If you can invite a Discord bot, you can set up Jarvis.
What you need
- A Discord server you own or have Manage Server permission in.
- A browser logged into Discord.
- About thirty seconds.
That's it. No payment method, no signup form, no token to paste.
Step 1 - Invite the bot
Open the invite link (also linked from the home page) in a browser where you're already signed into Discord. The OAuth screen will show you which permissions Jarvis is requesting:
- Read and send messages
- Manage messages (for
/purgeand/automod) - Connect and speak in voice channels (for
/voiceand/play) - Embed links, attach files
- Use external emoji
Approve, pick the server you want from the dropdown, and confirm. Jarvis joins within a second.
You can tighten these permissions per channel later through Discord's normal role and channel permission system - Jarvis doesn't try to grab anything more than it asks for.
Step 2 - Say hi
Don't skip this. The first message confirms everything works.
In any channel where Jarvis can read and send messages, type:
@Jarvis pingOr use the slash command:
/jarvis prompt: pingHe should reply within a second or two. If he doesn't, jump to Troubleshooting and walk the checklist.
Step 3 - Lock him to one channel (recommended)
This is optional but almost every server wants it. Without a channel lock, Jarvis responds anywhere he can read - including on accidental mentions in unrelated channels.
In the channel where you want him to live, run:
/channel set channel: #ai-chatNow he only replies in that channel. Members can still type @Jarvis anywhere - they just won't get a response unless they're in #ai-chat.
To unlock everywhere, run /channel clear.
Optional - Role-gate access
If you want only certain members to use the AI features (common for community or paid-tier Discords), run:
/role add role: @AI-UsersNow only members with the @AI-Users role trigger Jarvis. The role gate stacks with the channel lock - both must pass.
To list current restrictions:
/role listTo remove a role gate:
/role remove role: @AI-UsersOptional - Voice channel
If you want voice replies, join a voice channel and run:
/voiceJarvis joins the channel, listens for the wake word (jarvis or garmin by default), and replies out loud through NVIDIA NIM voice synthesis.
To set a custom wake word for yourself:
/wakeword set word: fridayTo set one server-wide (mod-only, overrides defaults for users who haven't set their own):
/wakeword server set word: alexaTo make Jarvis leave the voice channel:
/leaveOptional - Tweak memory
By default, Jarvis remembers your conversations for 30 days, tied to your account - they follow you across every server you share with him, and a kick from one server does not delete them. Three things to know:
- See what he remembers:
/memory entries: 10 - Wipe memory instantly:
/clear - Stop storing memory entirely:
/opt mode: out
Turning memory back on later: /opt mode: in.
Memory is per-user and per-server - it doesn't leak between servers.
Common stumbles
A few things people hit on first setup, in order of frequency:
- He doesn't reply. Usually a channel-level permission override. Check that Jarvis has Read Message History and Send Messages in the specific channel, not just server-wide.
- Slash commands don't show up. Discord caches command lists. Restart your Discord client (
Ctrl+Ron desktop) and they'll appear within 10 minutes. - Voice joins but doesn't transcribe. Confirm the wake word fired. Default is
jarvisorgarmin; check your personal setting with/wakeword(no args).
Anything else: Troubleshooting or the #support channel on AGIS (link from the home page).
What's next
Now that the bot's running:
- Commands reference - every category Jarvis ships with.
- Integrations - how the AI model routing, voice stack, and music sources work.
- FAQ - pricing, privacy, removal, model choice.
If you'd rather self-host than use the hosted instance, the Self-hosting section covers Node, MongoDB, NVIDIA NIM, and the env knobs you'll need.